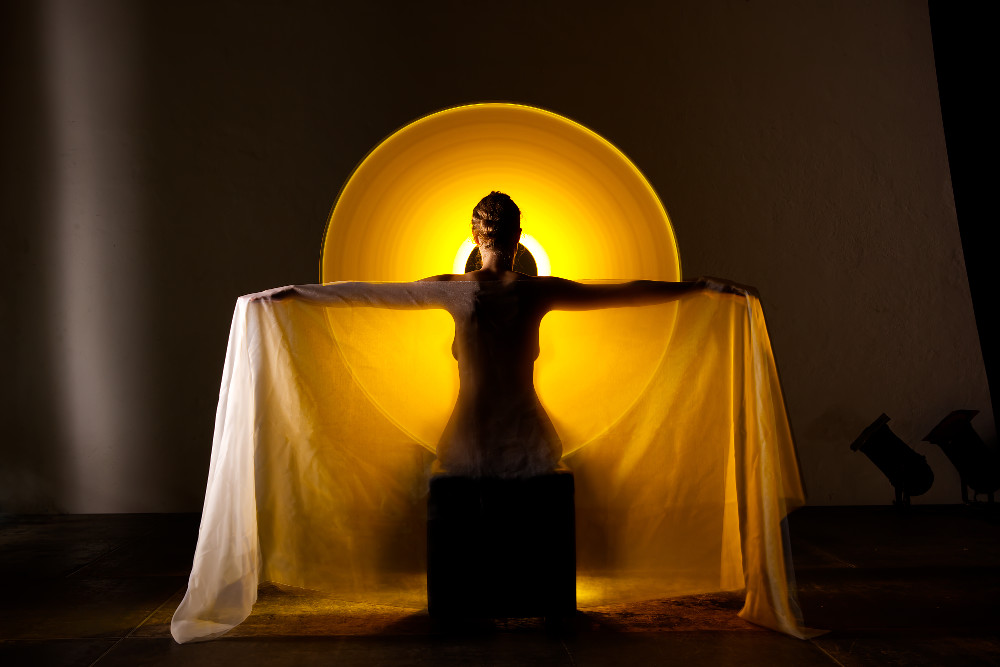
Lightpainting with tubes - staged sunrise over lightpainting for photo (Photo: A. Pratzner)
- Camera:
- Canon EOS 5Ds R
- Aperture:
- f/13
- Exposure:
- 15 sec
- Focal length:
- 40 mm
- ISO:
- 200
Attachments/light shapers for flashlights for light painting
The light can be shaped as desired for our light painting using attachments on the flashlight - we call them light shapers. Added to this is the movement during the shot.
Tubes and blades
There are 2 typical tools for light painters. These are the tubes and the blades or lightblades. If you translate the English terms, they are tubes and blades (light blade).
Light rods, Plexiglas tubes, tubes - long shapes
Plexiglas tubes are available in various colors (e.g. fluorescent tube cover T8 in 59 cm). Among lightpainters, these are also often referred to as tubes. They are very often protective covers for fluorescent tubes (manufacturer e.g. Bäro).
Framework data for the Plexiglas tubes (my experience):
- Diameter 26.5 mm
- Length around 60 cm
- Color yellow (light is better than dark)
- Wall thickness 1 mm
The length of around 60 cm is sufficient. It is also easy to handle indoors.
The diameter of 26.5 mm is suitable for the connector (see 3D print template below).
A wall thickness of 1 mm is recommended. Less makes the tube very “flabby”, which does not improve the guidance.
Yellow is an advantage as a color (if available, transparent or frosted glass is also good). Darker colors absorb a lot of light and the flashlight must be stronger.
The cost of such a tube is around 5 - 6 euros (just check at your local DIY store). If you want to order it, you can get it from Conrad at the URL: https://www.conrad.de/de/p/eurolite-eurolite-leuchtstoffroehren-ueberzug-t8-59-cm-gelb-1-st-1052040.html
The attached Plexiglas tube is very reminiscent of a sword - in other words, an association with Star Wars is inevitable.
Plastic bottles
Anything that is transparent or at least has a nice glow (thin plastic) can be used as a light shaper. Glass bottles would also work, but are not recommended due to the risk of breakage and injury.
Signal attachments (signal cones) for torches
Signal attachments (also known as signal cones) in red, orange or yellow are available for some flashlights. These can be found for the companies Maglite, Olight, Fenix and Ledlenser. This is an easy way to save on the connector. However, the signal lights are short with lengths of around 12 centimetres.
Connectors (connecting piece between flashlight and light shaper)
There are two options: DIY store or print them yourself.
A socket can be obtained from the plumbing department of a DIY store, into which the flashlight is inserted on one side (preferably screwed tight with a clamp) and the light shaper can be inserted on the other side.
Panel tape always helps to fix it in place.
Printing yourself with a 3D printer
If you have a suitable 3D print file, you can print the connecting piece between the light shaper and flashlight yourself relatively quickly. I provide the 3D print file in the “.stl” format for plastic bottles with a screw cap and a flashlight with a diameter of 40 mm as a download here (I use the Ledlenser MT14).
Download 3D files for lightpainting connector and flashlights
IMPORTANT - DANGER NOTICE! Use at your own risk. The closed design creates a heat build-up that can destroy the flashlight if it is used for a longer period of time! Therefore: Use with caution and at your own risk!
Flashlight head to screw thread
- Lightpainting connector for flashlight head diameter with 35 mm (STL)
- Lightpainting connector for flashlight head diameter with 39 mm (STL)
- Lightpainting connector for flashlight head diameter with 42 mm (STL)